Create Certificate with Kleopatra
- Start Kleopatra from your start menu.

- You will see the Kleopatra Window which will show you the certificates you have installed. Notice there are three main tabs above the window which lists your installed certificates. These tabs are “My Certificates,” “Trusted Certificates,” and “Other Certificates”. My Certificates is where you will see certificates for which you have both the public and private key.

- Let’s create your first public key private key pair be clicking File > New Certificate.

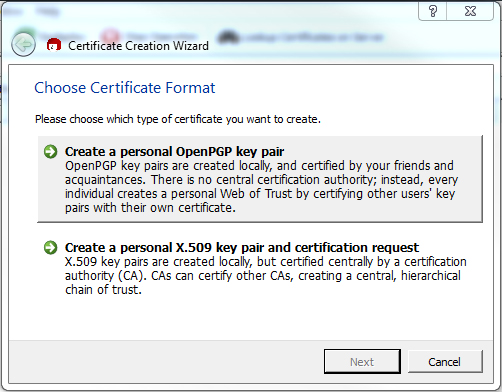
- The Certificate Creation window will open. For this example we are not going to worry about certificate authorities, so just click Create a personal OpenPGP key pair.
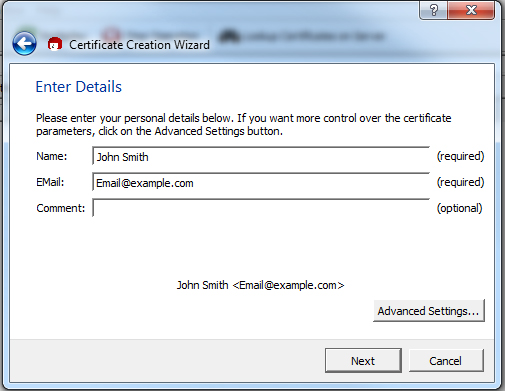
- Enter the name of the person or organization for which you are creating this certificate, as well as an email address for the person or organization. Then press Advanced Settings.
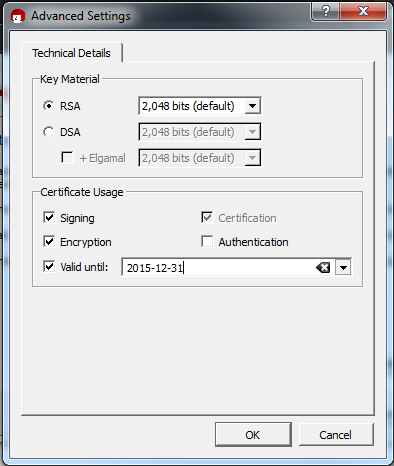
- In the technical details window, you should leave the defaults alone until you know what they mean, but because this is just an example, let’s add a certificate expiration date by checking the “Valid Until” checkbox and entering or selecting an expiration date. Then Click OK, which will return you to the Enter Details window, where you will click Next.
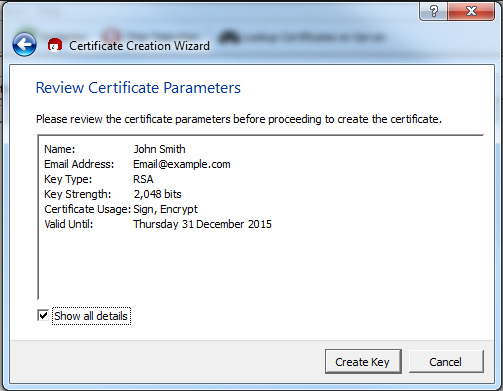
- Review the details of the certificate and then click Create Key.
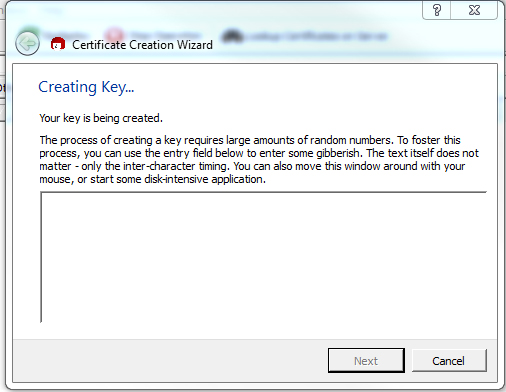
- The Creating Key window opens. At this point you can type random characters into the text area in this window, or move the window around to add randomness to the key being generated. Also at this time, a the create Password may open over the Creating Key window.
- Enter a password for your private key. While it is not required, it is recommended that you make the password at least 10 characters long, and include a combination of upper case and lowercase letters, and at least one number. If you enter an easy password without a combination of character types, you will likely be prompted with additional warning dialogs. Do not lose this password, you will need it whenever you plan to decrypt a message encrypted with these keys.
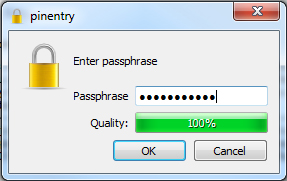
- Re-Enter the password you created in the previous step.

- At this point your certificate key pair is created. We suggest you make a backup of your key and keep it in a safe place by clicking the “Make a Backup of Your Key Pair button.
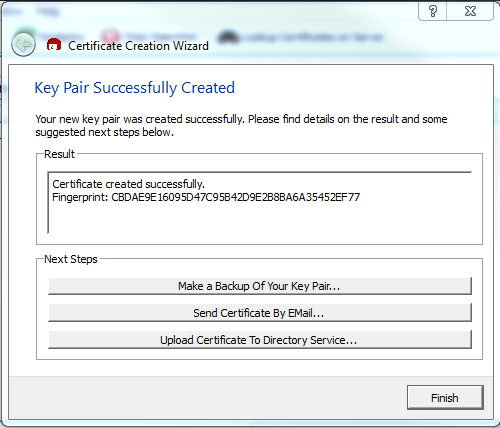
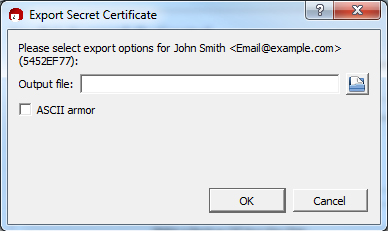
- Select a location and filename for your key pair backup and click OK.
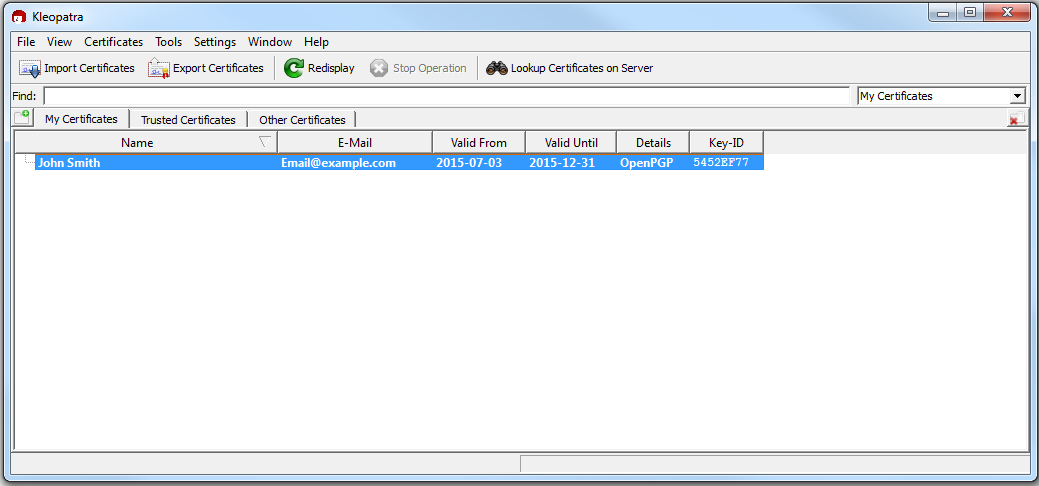
- Back in the main Kleopatra Window, you will now see your new certificate listed in the “My Certificates” window. In order to allow people to send you encrypted messages or documents with this certificate, you will first need to give them a copy of your public key.
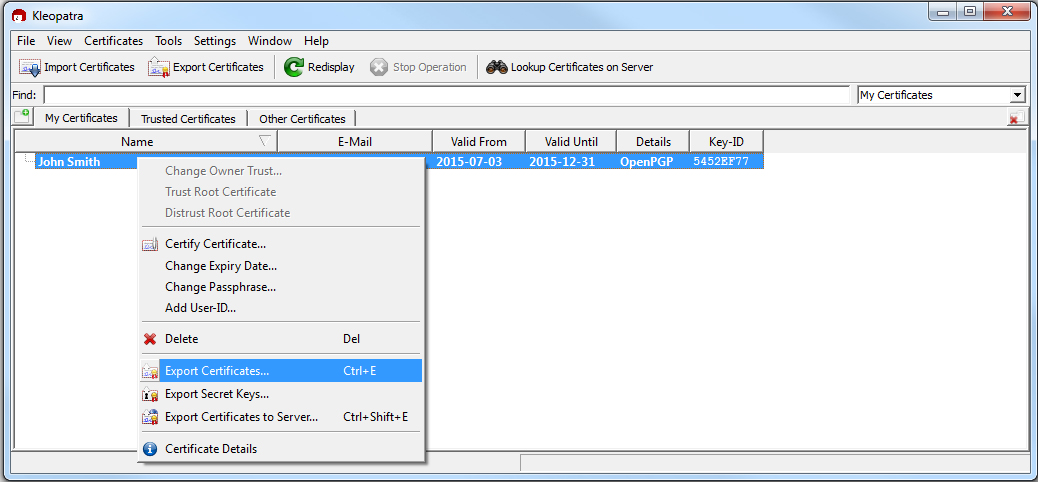
- To export your public key, right click on the certificate you just created and select “Export Certificate.”
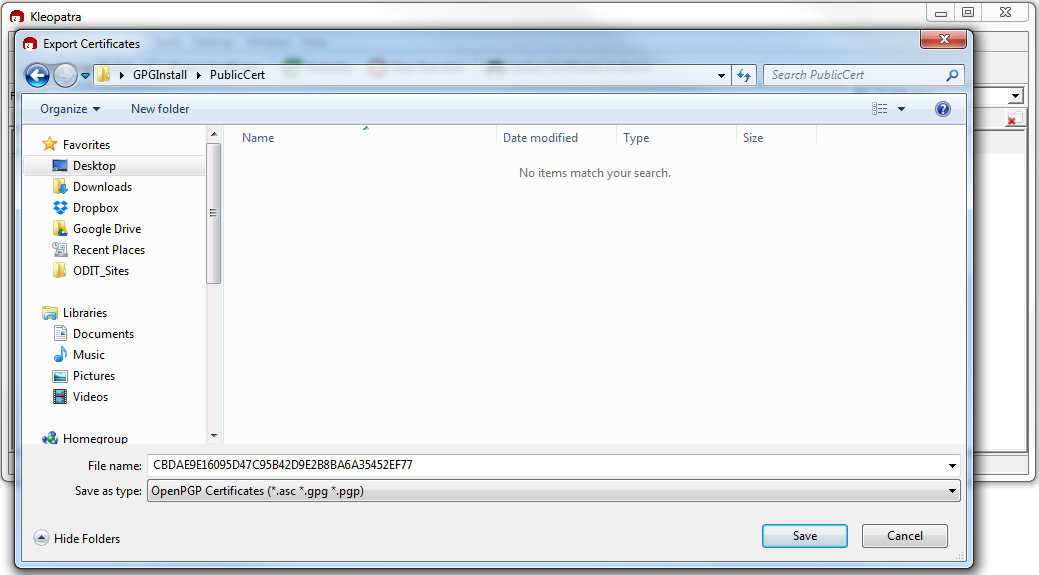
- You can name this file anything you want, and save it anywhere you like on your computer. We highly recommend saving it to a different location and giving it a different name from the backup you made of your private key in step 12. If you accidentally send your private key to someone else, they will be able to decrypt any messages encrypted with this key.
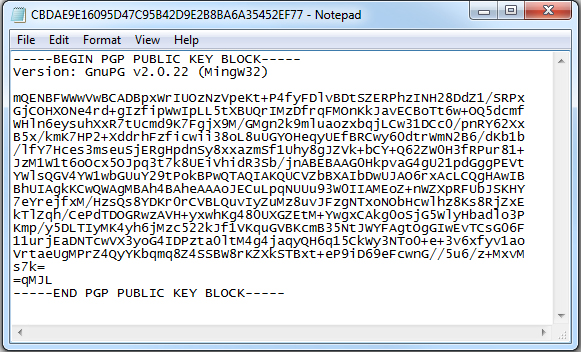
- In order to allow someone to send you an encrypted message, they will need a copy of the public key you just created in step 15. This key can be sent to them as an email attachment, downloaded from a location on the web, or even printed and sent in the mail. The key itself is just a text file which you can open in any standard text editing program.